Step 1. Creation of the first panel
Go to “Project/Current Panel Configuration”, or press “Ctrl+T”, or double-click on the profile.
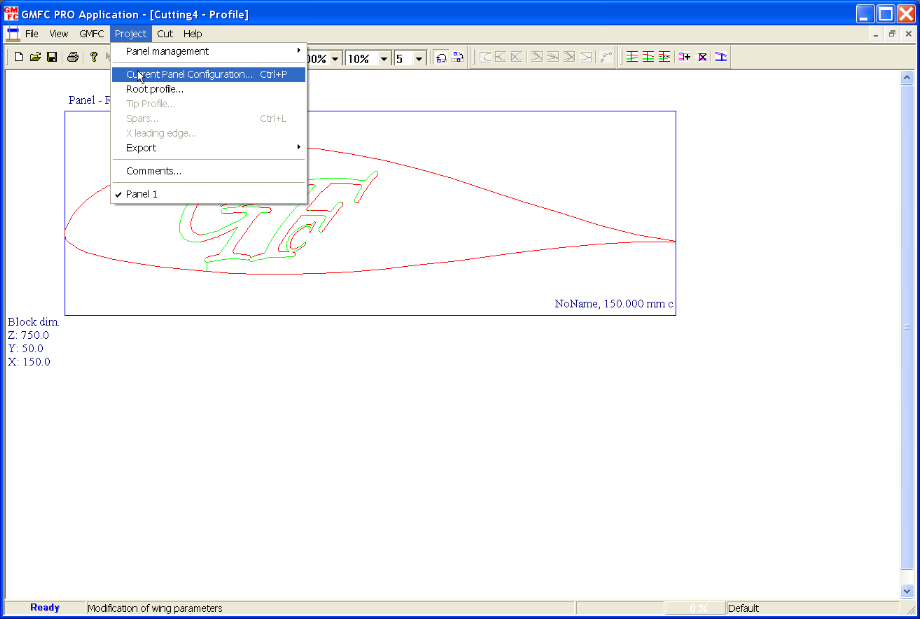
Set the wing mode by checking the “Wing panel” box.
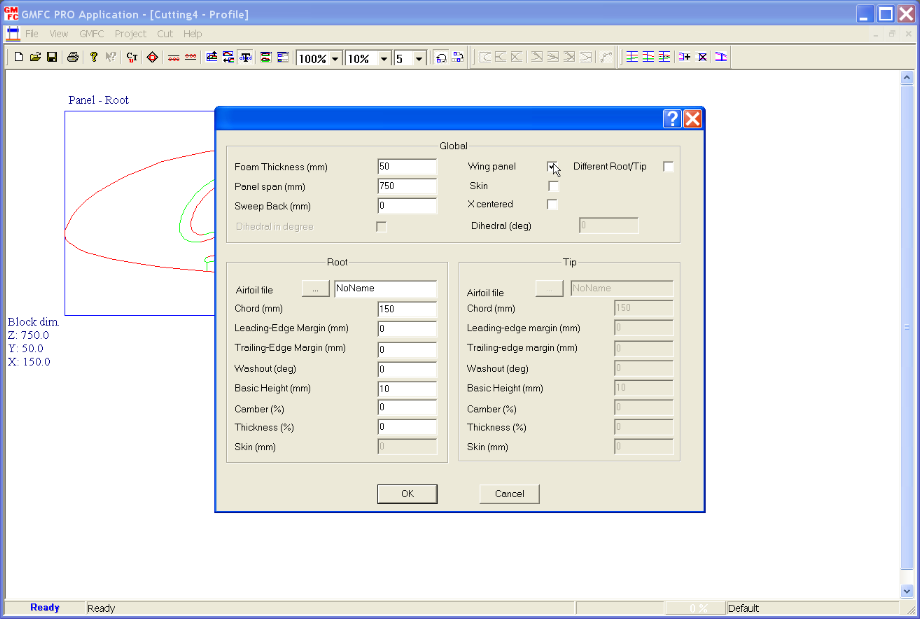
Set also the “Different Roo/Tip” box.
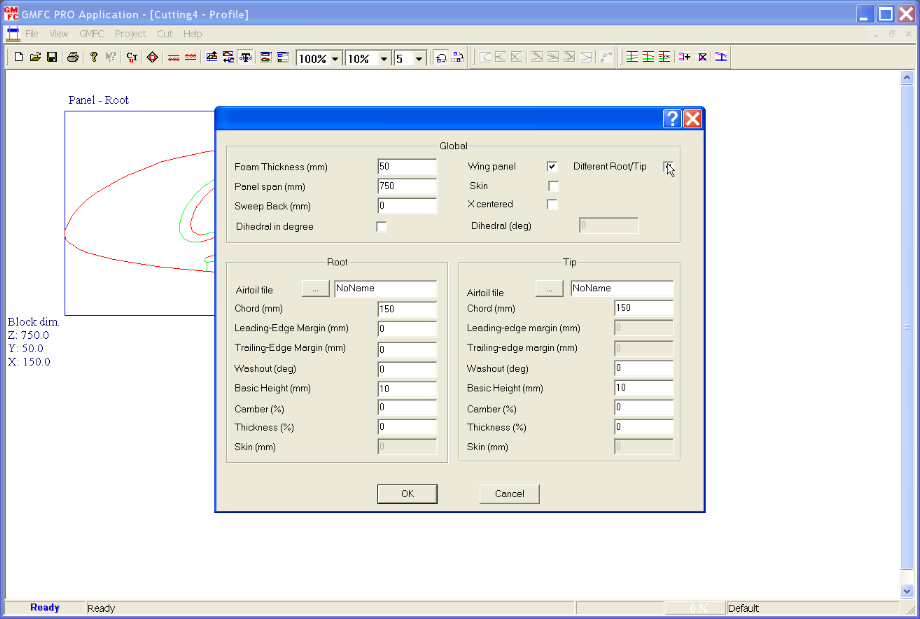
And set the Panel span (here 300mm).
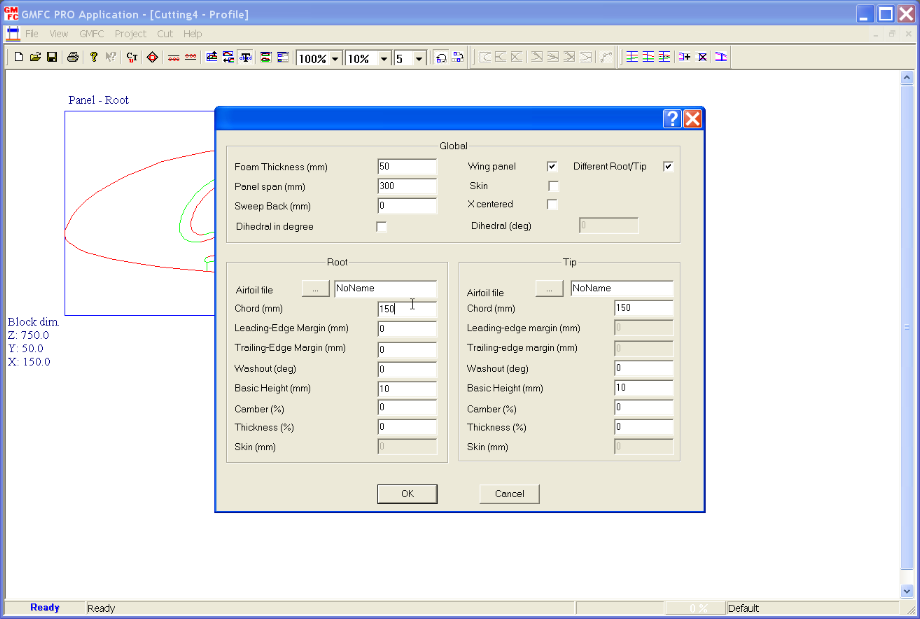
Then, set the root chord (200mm) and the Sweep Back (50mm).
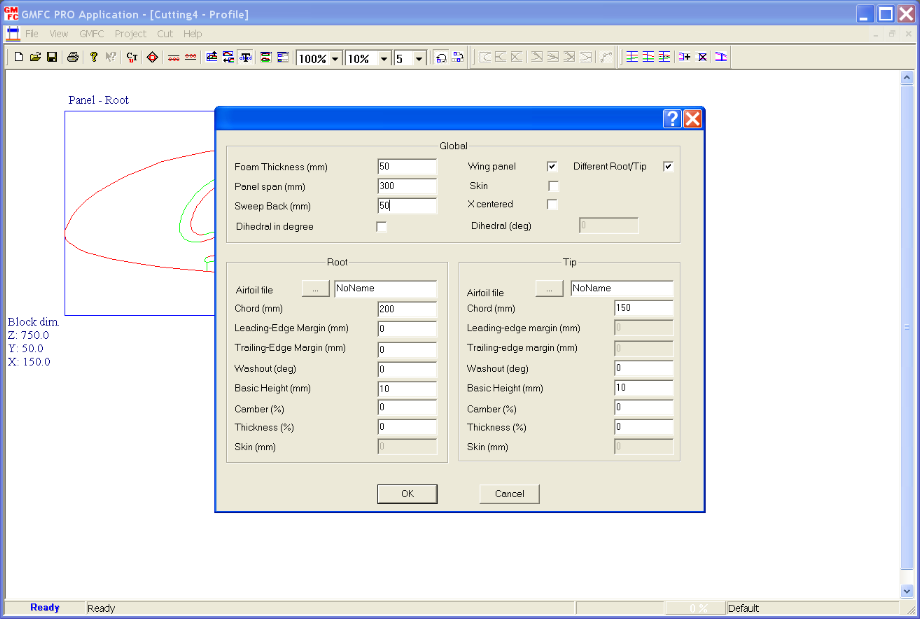
Now we have to select the profiles. Click on the “Airfoil” file button.
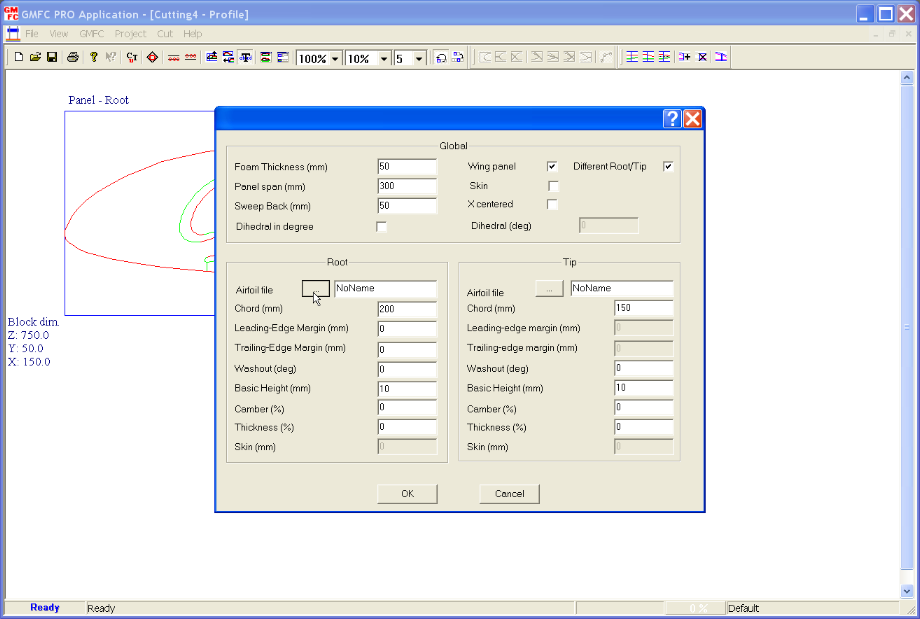
GMFC opens the profile directory (see GMFC/Configuration and Files). Possible formats are .dat and .cor files. Just select the desired profile.
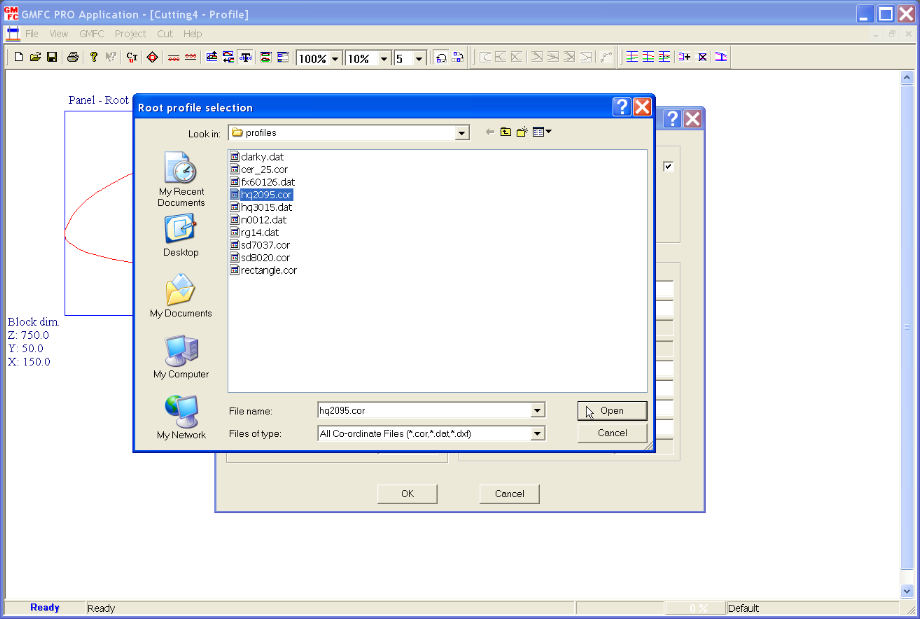
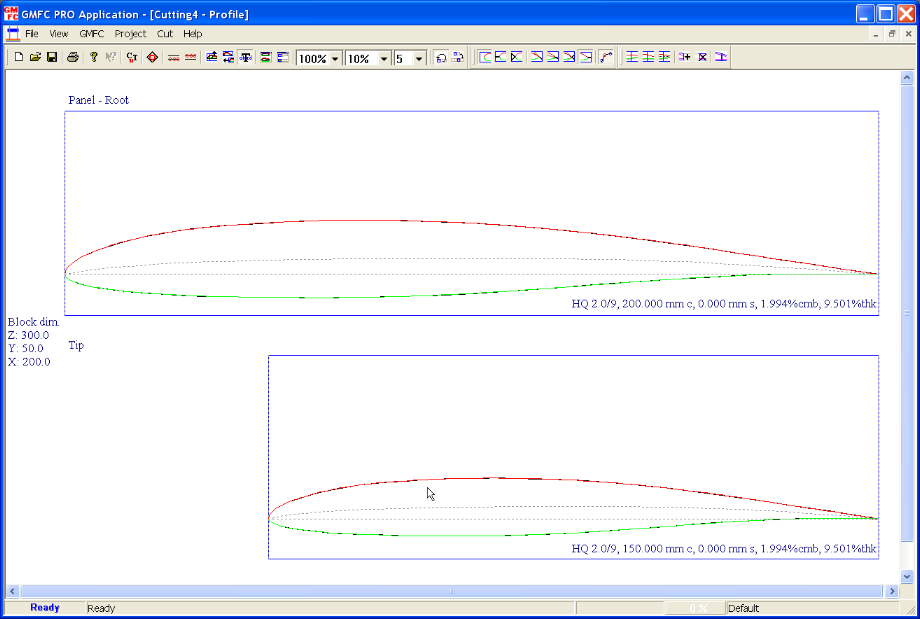
Do the profile selection for both the root and the tip. Then exit the dialog by clicking on OK. Here is the result.
Now let’s see the wing from above using View/Wing.
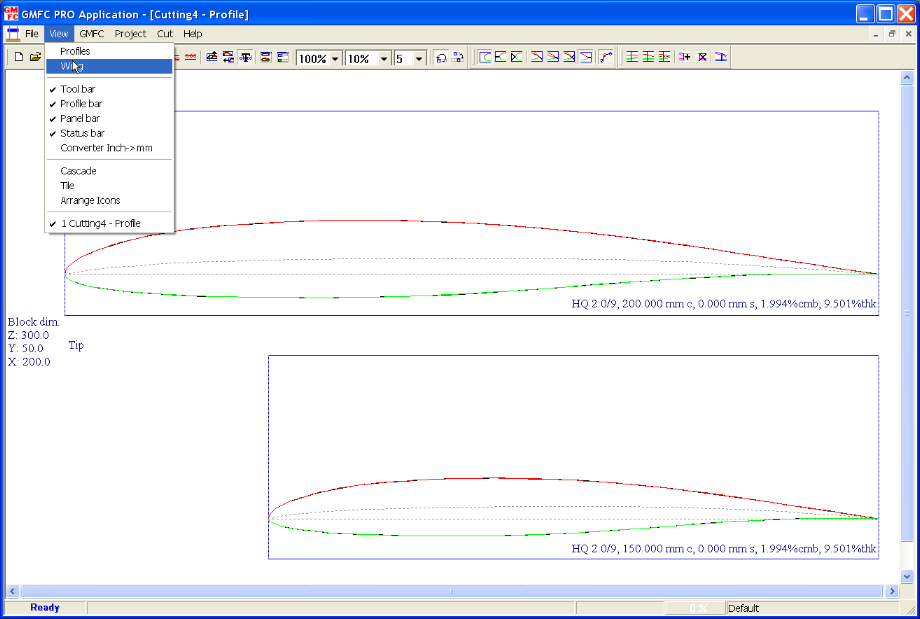
The main window is now spitted in two sub-windows.
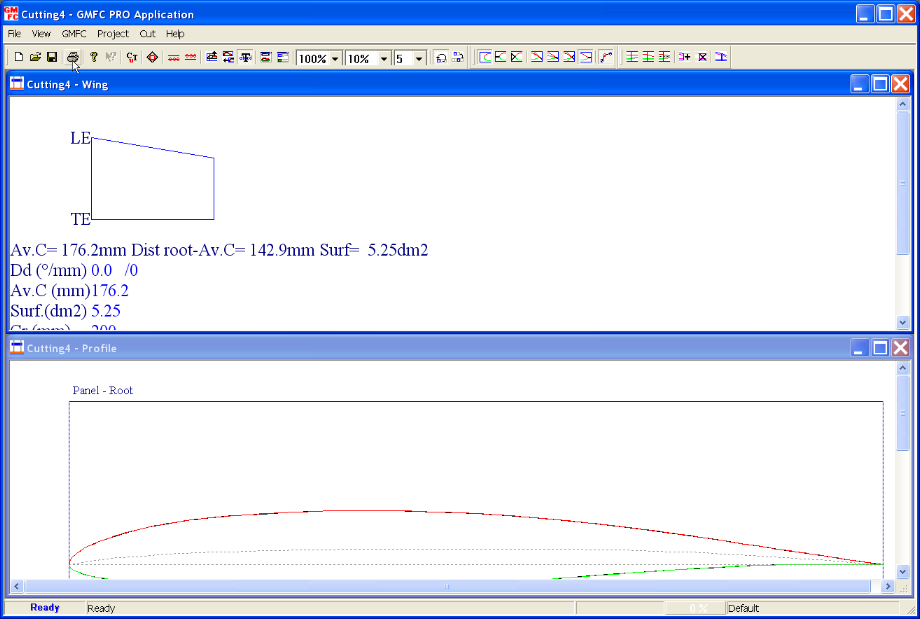
Step 2. Addition of a new panel at the tip.
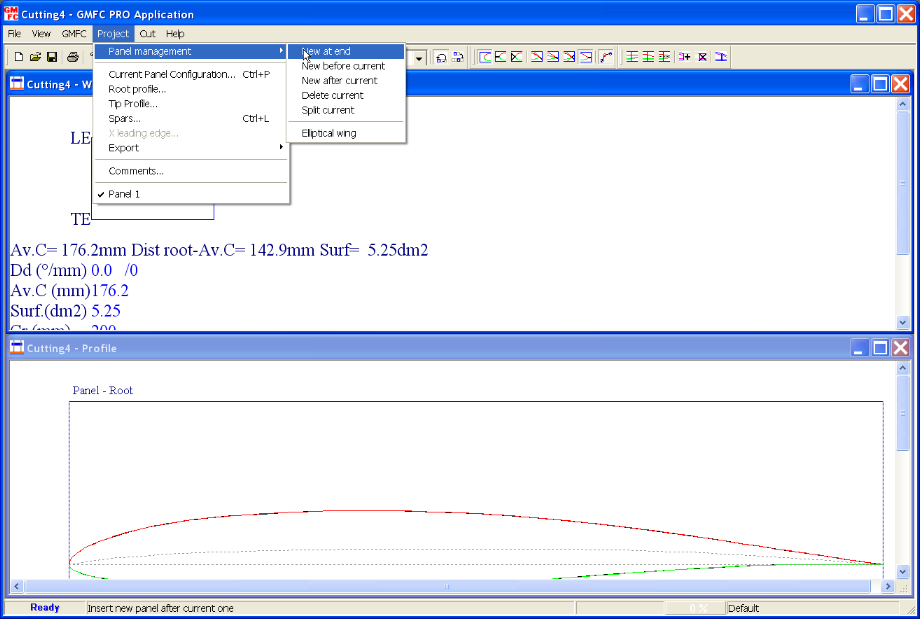
Use “Project/Panel management/New at end” to create the new panel.
There is now a new rectangular panel those chord is the same as the tip. Note the the new panel is selected as the current one. You can change the current panel by clicking on a panel in the wing window.
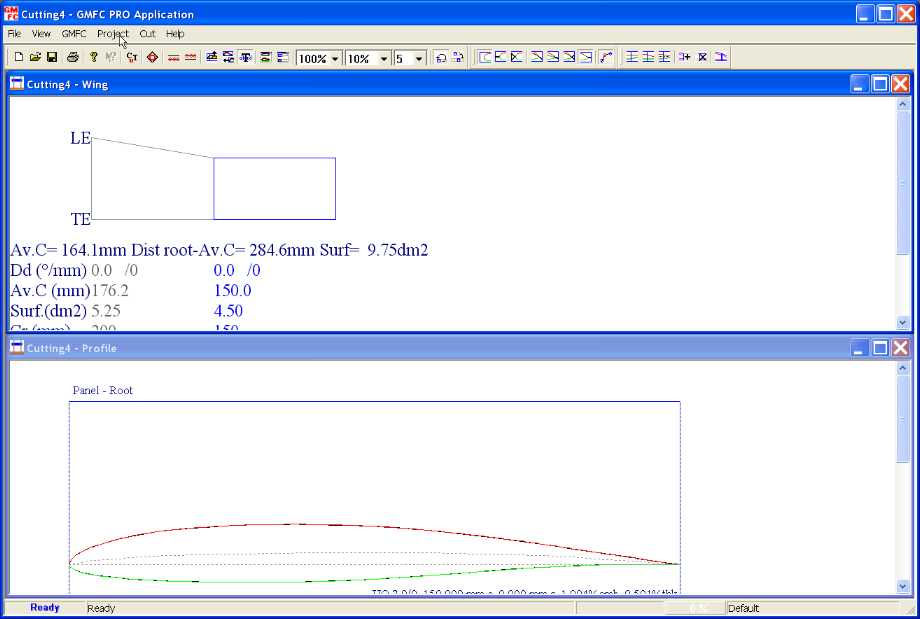
Open the panel configuration, and set the parameters (Span = 100mm, Tip Chord = 120mm, Sweep back = 30mm).
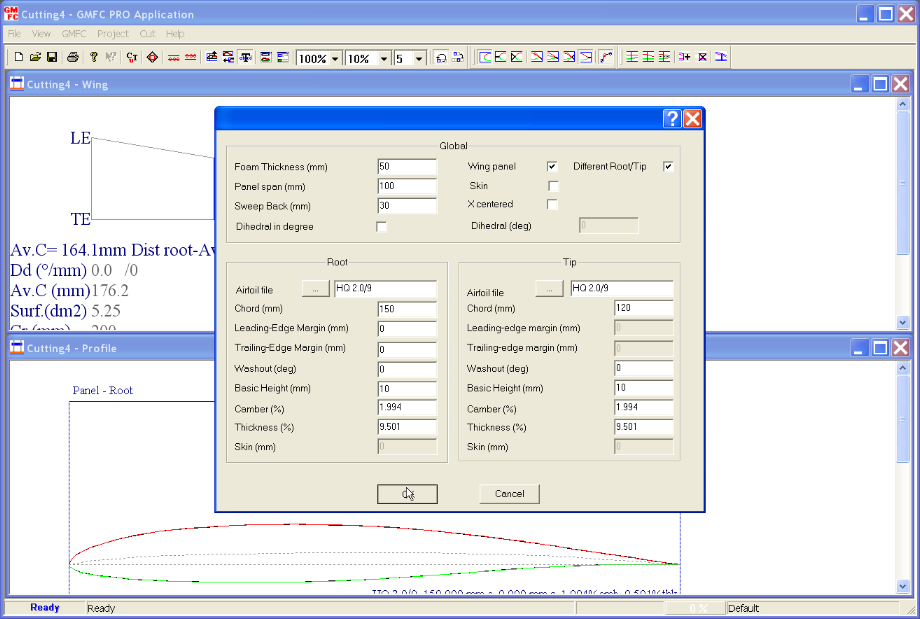
Here is the result.
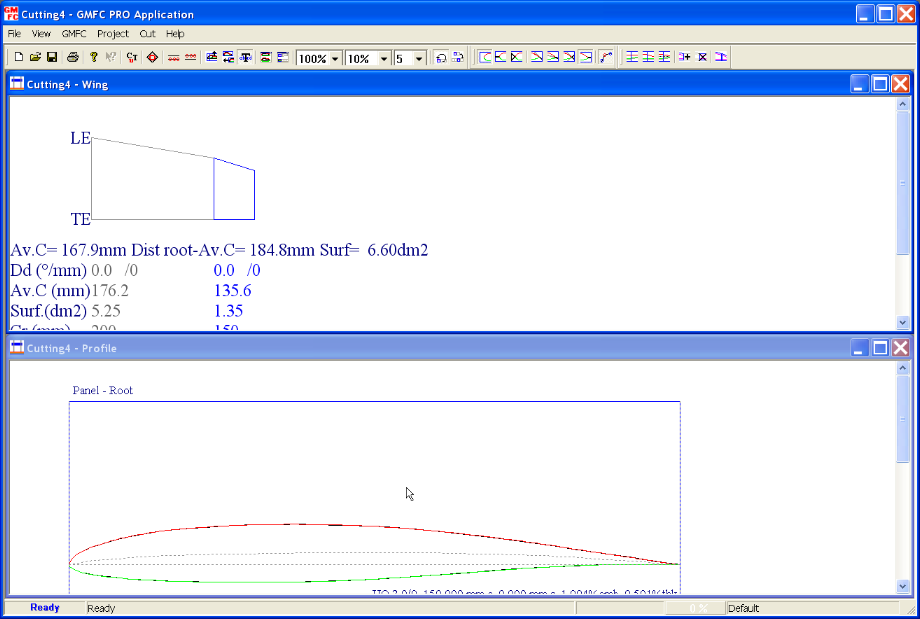
Step 3. Panel alignment on the upper surface
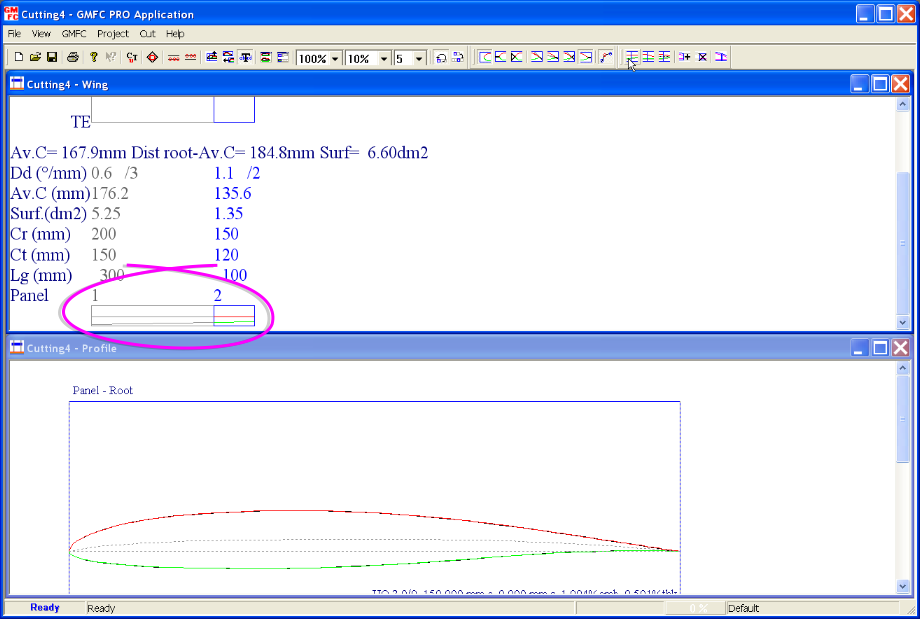
By default the two panels are aligned on the lower surface. Let’s align them to the upper surface.
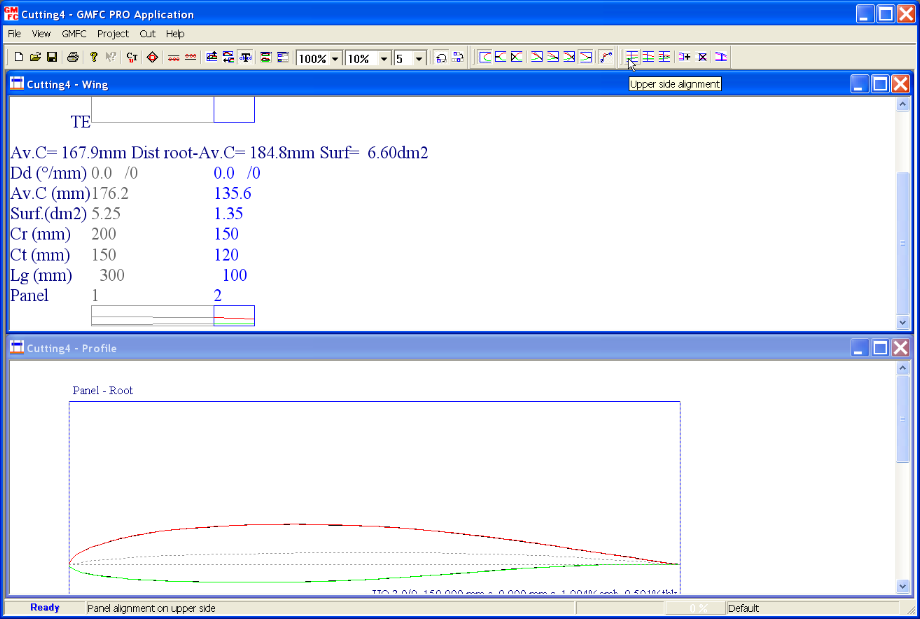
This is done using the alignment toolbar. Just click on the desired icon. Note that you can align either on the upper surface, the lower surface or the middle.
Step 4. Save the project
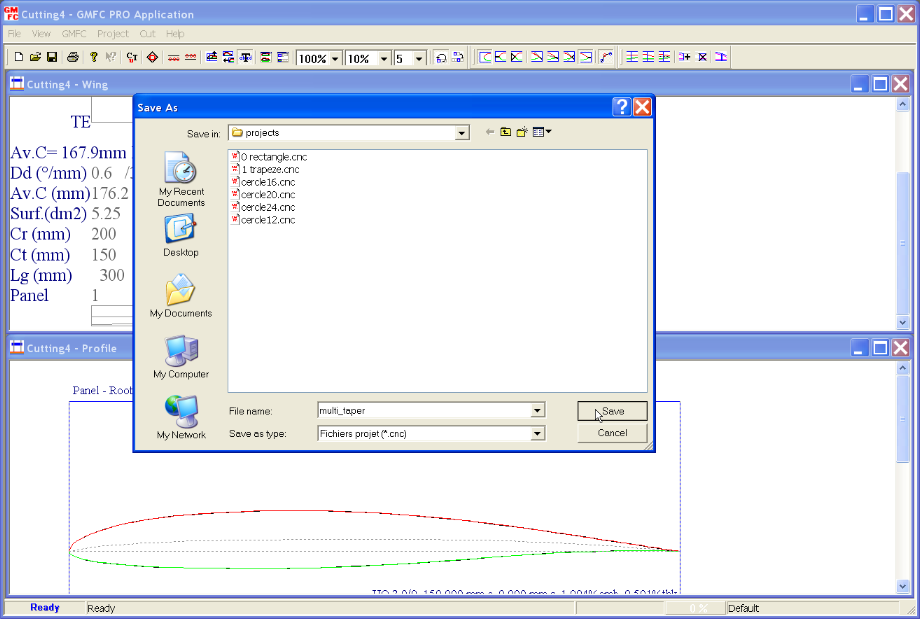
Open the dialog “File/Save” or “File/Save as”.
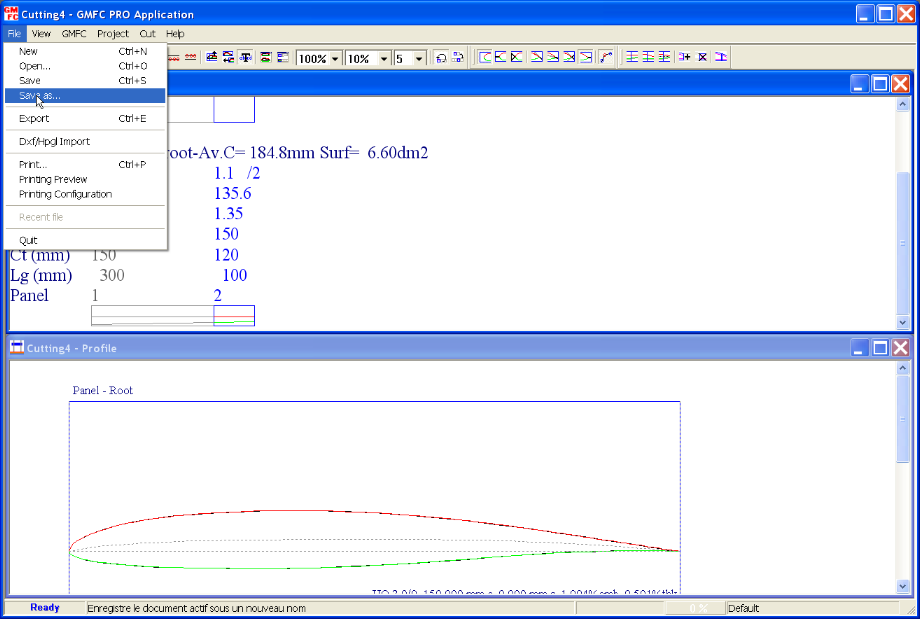
Now you can navigate in directories and choose a name for your project.

Very nice tutorial, whithout I would never have been able to perform adequately.
Not sure where to click to align in the middle.
Looking forward to the other tutorials..
BR, Bernhard
The middle alignment icon is in the right after alignment to the upper surface.